In order to gain more Domain authority, one of the factors is to get more and more users in your Website, which can be helped via a Login popup in WordPress. The fact is that if you’re not easing out the process of login for users, there are less likely chances that a user is going to head to the Login Page and then come back to his destination page.
You need to Create A Login Popup in WordPress Website where users can Signup or Log in without landing on any specific page, You can have the feature with a simple yet light Plugin. It does have great features as well as an attractive customizable design.
Installing Required Plugin
In order to have the Popup Login feature, You need to add a Plugin named “Login for Woocommerce”.
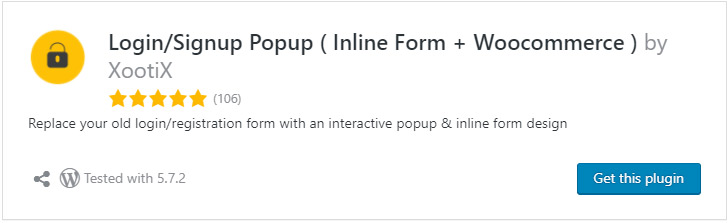
Download the Plugin & Install it or You can Navigate to Left Panel, Click on ‘Plugin > Add new > Search for ‘Login popup’. Click on Install and Later Activate it.
Now after the Plugin is Installed, You need to tune up some simple settings. Head over to Left Sidebar in ‘Dashboard’,
Navigate to “Login-Signup Popup”, follow along with the next steps.
General Settings:
Set the Enable Registration, Auto-Login User on Sign up, Handle Reset Password Fields to Enabled. Change the other settings according to your choice.
Now here comes the styling of the Popup along with the form fields.
Styling the Popup:
In order to Achieve the perfect screen-to-body Popup size, you can follow the size we’ve used for the Box.
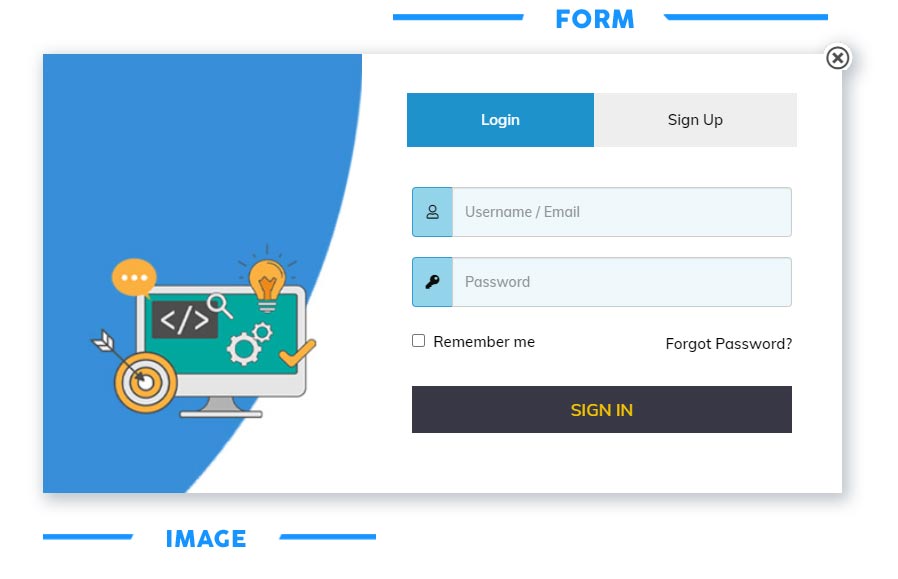
- Popup Width: 800Px
- Popup Height: 440Px
- Popup Padding: 40px 30px
I’ll design a Sidebar image that will fit properly with the Popup. Photoshop is being used here in this tutorial, We suggest using ‘Canva’ to Design the Sidebar Image.
Toggling the Popup
One of the necessary steps to bring the popup on the Screen is to Toggle it On or Off. It can be done either by a Button or Via adding a Delay after which the Popup automatically appears on the Screen.
Enabling the Auto Open Popup option lets the popup appear on your webpage all by its own, a timer can be added from the bottom Delay option. 1000 Miliseconds is equal to 1 Second, thus put a delay like ‘30,000’ if you are willing to add login popup in WordPress with a Timer of 30 Seconds.
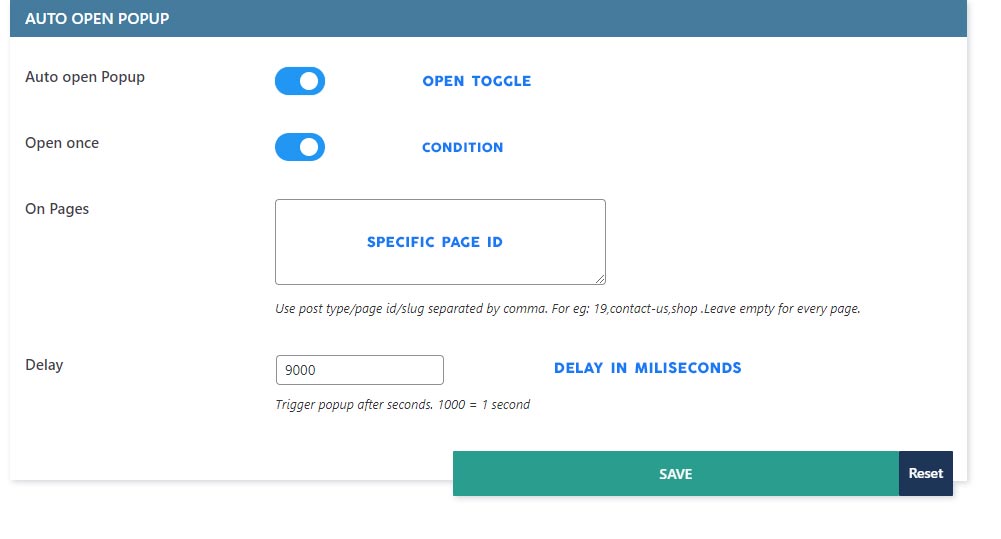
In order to appear the Popup to a specific page, you need to add Post ID manually just like: Contact, About, Blog, etc.
After Triggering settings are set, Click on ‘Save’ Button. Now, It’s on the Live website & It will appear on you pages according to the settings.
Related: How to add a verified badge to WordPress
Video Format Tutorial
For the sake of simplicity, I have created a tutorial in Video format too, The language in the video is Hindi, sorry for that. I hope you’ll be able to understand it and Get the Popup just like you wanted.
Get your Own WordPress Website
We are specialized in Website Development
